Air strut issues in Ford vehicles can be a real pain, especially when they compromise the smoothness of your ride. A seamless suspension system is crucial for a comfortable driving experience.
Over time, wear and tear can affect the efficiency of air struts, leading to a bumpy ride or even potential safety concerns. Addressing these issues promptly ensures that your Ford remains in top condition, providing a smooth and safe journey every time.
Tools and Materials
Before you start the process of removing air struts on a 2008 Ford Expedition, ensure you have the right tools.
You’ll need a hydraulic jack, jack stands, wheel chocks, ratchets, hand gloves, protective eyewear, wrenches, sockets, a screwdriver, hammer or mallet, and a rust blaster or lubricant.
Safety first! Always wear protective gear and make sure you’re working in a well-lit environment.
Pro Tip: You can easily find these tools online or rent them from local auto repair shops.
Preparation Steps
Source: insanegarage.com
Before diving into the removal process, proper preparation is key.
- Choose a safe, flat area to work, ensuring there’s enough space to move around.
- Engage the parking brake for added safety and ensure the wheel of your car is straightened.
- Before lifting the vehicle, double-check that the ignition is switched off to prevent any electrical issues.
Removing the Wheel
Before you lift the car, apply a rust blaster or lubricant to the lug nuts. This makes it easier to loosen them.
Once the vehicle is securely lifted using a jack and stands, you can safely remove and set aside the wheel.
Fun Fact: Different models of vehicles might have varying lug nut patterns, so always refer to the manufacturer’s manual if in doubt.
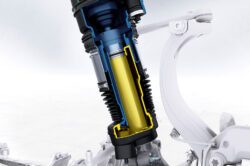
Locating the Air Strut
Source: m.youtube.com
The air strut is an integral component of the suspension system. Positioned near the wheel, its primary function is to absorb shocks, ensuring a smooth ride. When attempting to remove it, you’ll find it relatively accessible, but it’s essential to familiarize yourself with its position to avoid any mistakes.
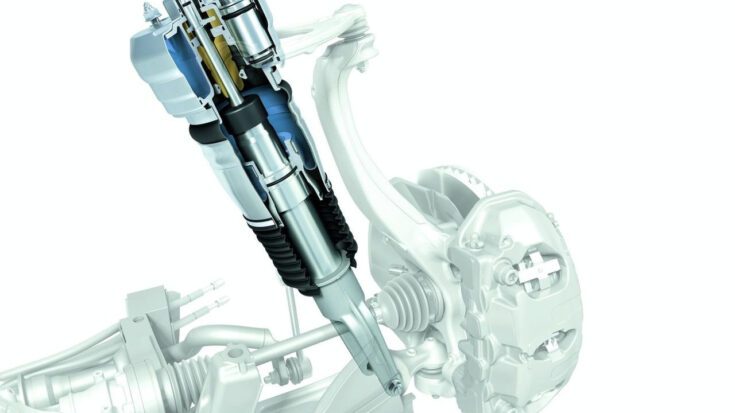
Disconnecting Components
Several components surround the strut, and they need to be carefully disconnected before removal. This includes brake lines, sensors, and other fixtures.
Each component, from the brake hose bracket bolt to the tie rod, plays a unique role in the vehicle’s operation. Properly labeling or taking photos can help in the reassembly process.
Strut Deflation
Deflating the strut is a step that requires utmost caution. Always adhere to the manufacturer’s procedure to ensure safety.
Incorrect deflation can lead to accidents or damage to the strut. Ensuring all pressure is safely released is paramount before proceeding.
Pro Tip: Regularly check your air strut for leaks using soapy water. This simple test can save you a lot of trouble down the road.
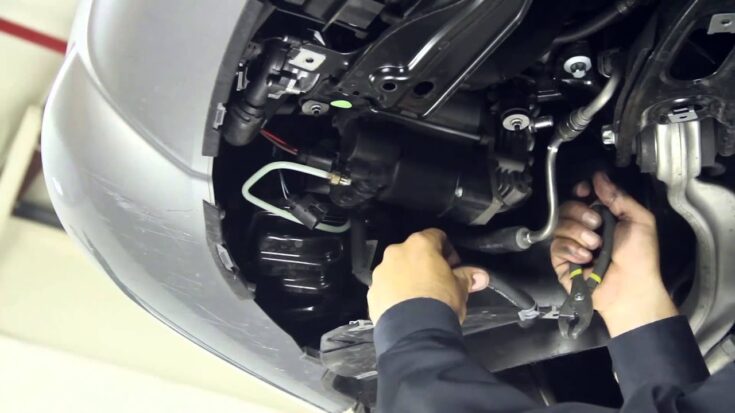
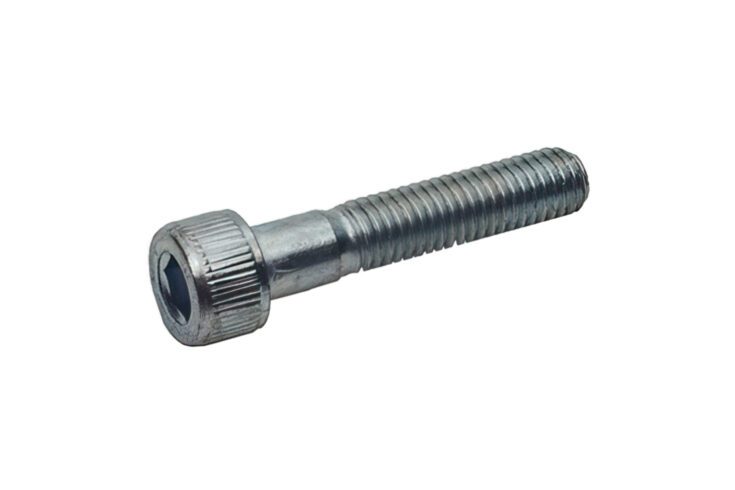
Removing Mounting Bolts
Source: maxiscoot.com
Once you’ve accessed the strut, the next step involves removing its mounting bolts. Using the appropriate tools and ensuring you’re turning in the correct direction can prevent stripping or damaging the bolts.
Always proceed methodically, keeping track of all removed parts for reassembly.
Taking Out the Air Strut
After all the preparatory steps and disconnections, you’ve finally reached the pivotal moment of extracting the air strut. Carefully wiggle and maneuver the air strut from its position, ensuring you don’t apply excessive force which might damage surrounding components.
Conclusion
Removing air struts from your Ford might seem like a challenging task, but with careful preparation and the right tools, it’s a manageable DIY project. Ensuring you follow each step meticulously and prioritize safety will lead to a successful outcome. Whether you’re doing this for maintenance or upgrading components, the satisfaction of completing the task is rewarding.
And remember, there are always resources and experts available to assist if you encounter any challenges. Safe driving and happy wrenching!


")